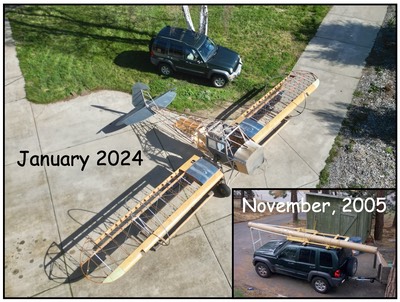
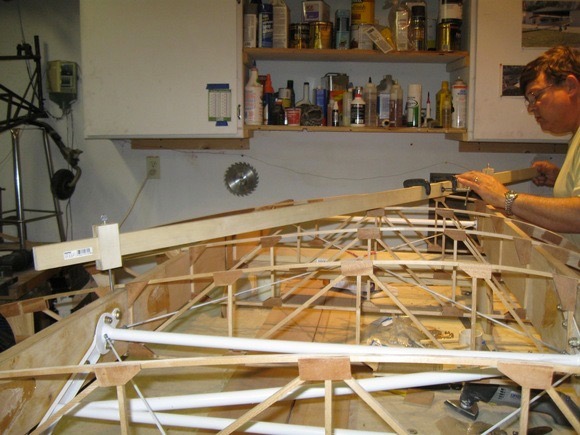
Wing trammeling is finished! I squared up my first wing yesterday using a trammel I made and followed the procedures on the Cub Club J-3 wing assembly video and procedure outlined on Supercub.org. I was worried about this step for a while now but it turned out to be very easy. It only took me about an hour to do my first wing. All the bays came out exactly on the target marks and the wires all pull tested to the correct amount as on the video. It sure is nice when a step goes this smooth. My picture show trammeling the last bay. I did the root bay first, than the middle, than the last. I was very surprised that as I moved down the bays, the previous bay stayed pretty square, only requiring slight adjustment when finished with the last bay.
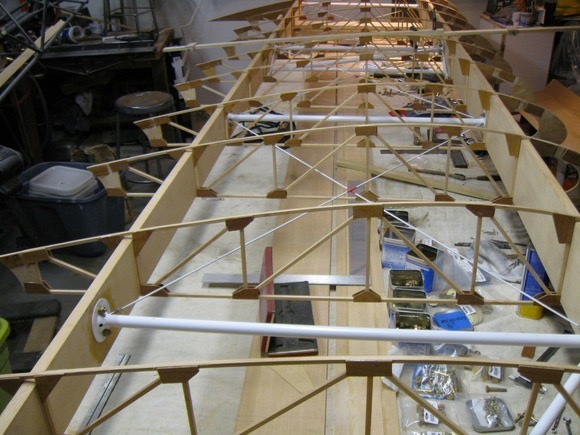
 After the drag and anti-wires are in place and finger tight, the next step is checking the distance across bay using a trammel with adjustable points. There are lots of commercially available trammel points but I made my own. Set the points on your target marks (center of compression member at top edge of spar) and lock in the distance.
 Next, with out changing the setting, check the opposite target marks. The bay is square if the measurements are exactly the same.
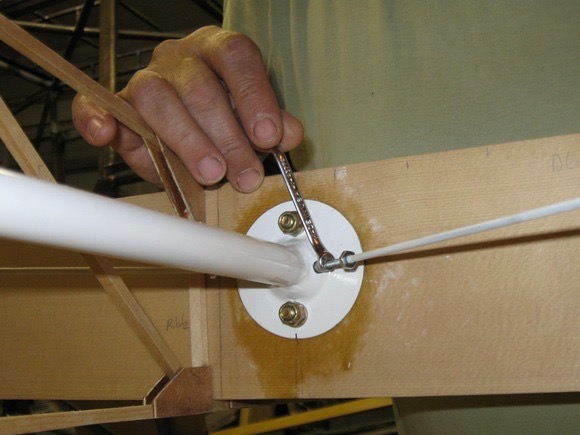 If you are short of the mark, tighten the wire at that point a few turns. The wires will tension up pretty easy. If you are long, loosen the wire. If the tension seems low, tighten each wire about a half turn.
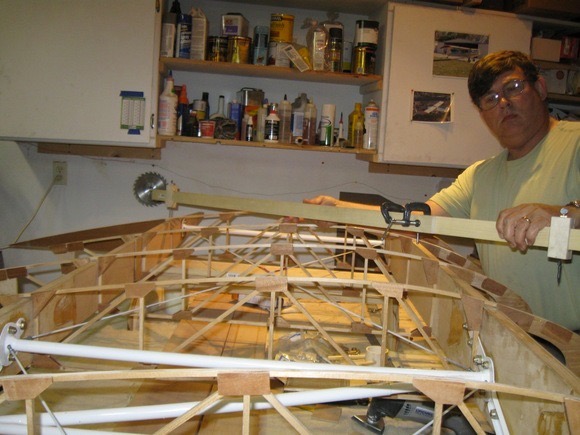
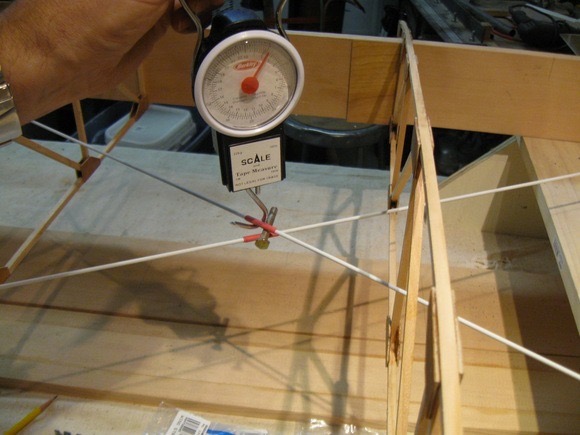
 Check to see how much that changed the distance. When the distance between the two points are the same checking diagonally both ways, the bay is square. Next, check the tension of the wires. I used a fish scale from Wall-Mart to check tension. The Cub Club video says that a deflection of 1/4″ should yield about 6 lbs. on the fish scale. On Supercub.org. I was told 3/8″ – 1/2″ deflection will yield about 12 lbs. Super Cubs use a metal spar, I have a wood spar as in the Cub video so set tension accordingly. I used a bolt here to illustrate the 1/4″ deflection. Make sure you note how much pressure it takes to lift the wire off the lower wire than see how much additional force it takes to get the 1/4″ deflection. You can “zero” or use a tare setting for this but I just noted it as I pulled up. It takes two hands, one holding the fish scale, the other using the 1/4″ bolt as a gauge. If the pressure is correct, you are done. If they seem loose, tighten each wire on that bay 1/4-1/2 turn and check again. If too tight, loosen each wire 1/4-1/2 turn and check again. I was curious if I needed to check the lower wire so I did the same pulling down; same results. I guess that’s why the video only shows pulling the top wire up. Note the red heat shrink tubing. This is very important and keeps the two wires from chafing and wearing against each other with vibration. I did my pull test before I slid the heat shrink in place. After heating (two pieces on each wire) I checked again and no difference on my scale.
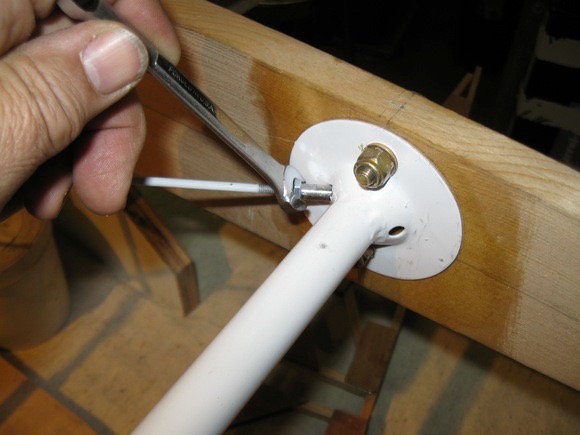 Next step, tighten the lock nuts in place and the wing is trammeled and square. Next step for me is to glue the ribs in place.