So, another long pause in my updates. Well, I spent the summer building ribs, building ribs, and building ribs! Lets see, what else…….. I got a good start on my spars and……. AN ENGINE!!!!!
I’ll just jump into pictures. Building ribs is a lot of pieces, a lot of repeating steps over and over and a lot of glue. Nice thing was no welding in the 100 degree heat!
I also reserved my FAA registration number: N367PS. So, what is the significance? Well, you will have to grab a Bible, and go to Psalms 36:7 to find out.
 First, I used a router to finish cut the plywood “D” for the ribs.
Then it was cutting lots of little pieces and lots of cap strips. I
decided to buy some cap strips from Aircraft Spruce as I got tired of
using the planer.
First, I used a router to finish cut the plywood “D” for the ribs.
Then it was cutting lots of little pieces and lots of cap strips. I
decided to buy some cap strips from Aircraft Spruce as I got tired of
using the planer.
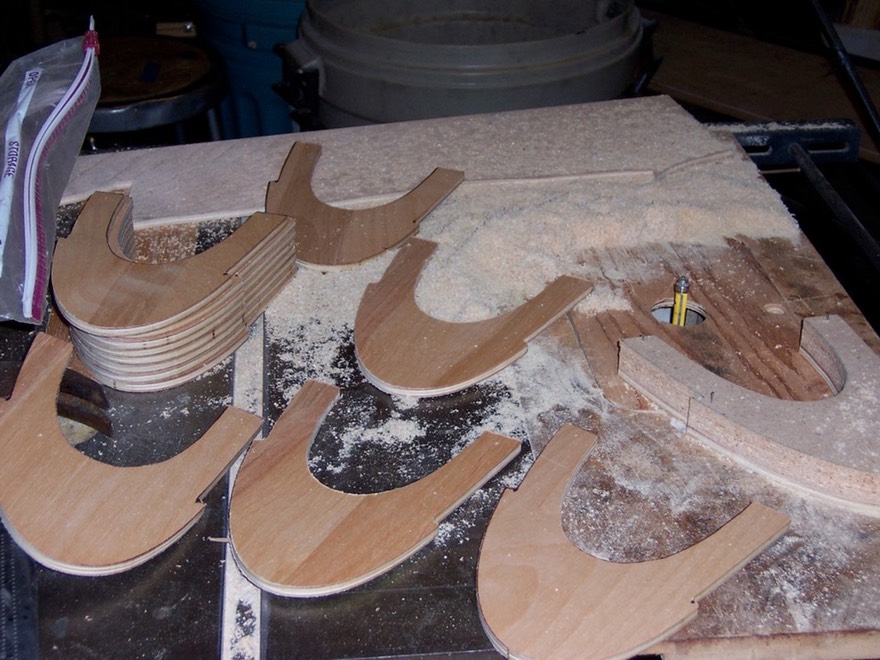 Finished plywood pieces.
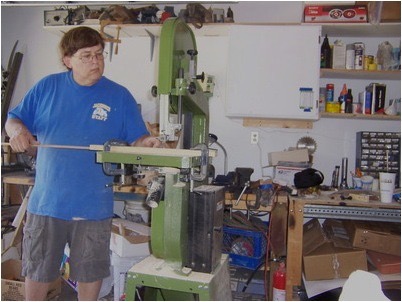 Lots of cutting on the band saw!
 I used the planer to make the cap strips. This took a long time so I wound up buying about half the strips for about $50!
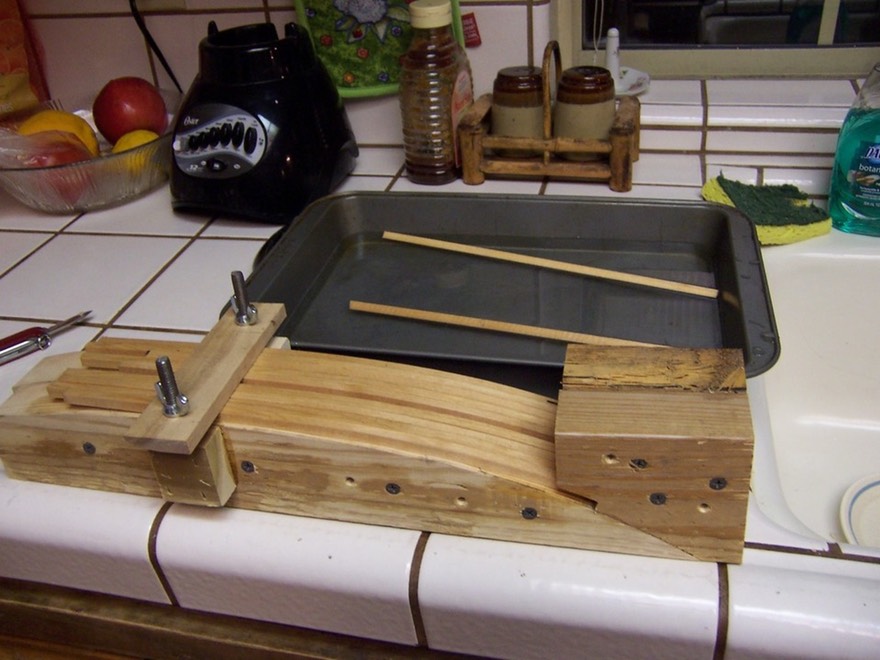
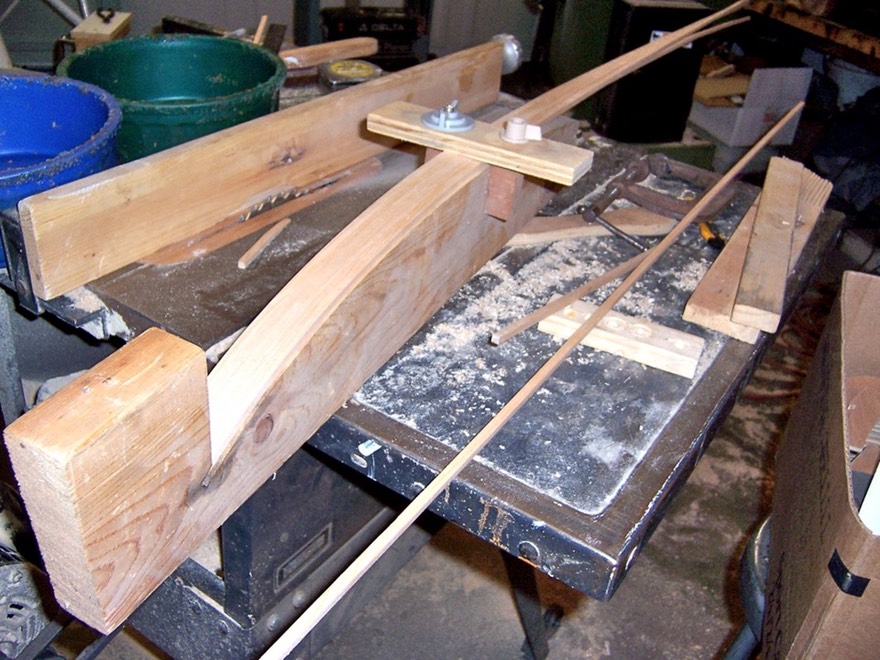 I used this bending jig to bend the ends of the cap strips to follow the front plywood "D" section. Wood was soaked in a capped PVC pipe for about 20 minutes than clamped uver night. Plan ahead; the jig held about 8 strips so you need to bend these over several days.
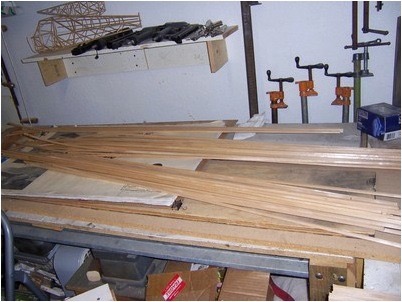
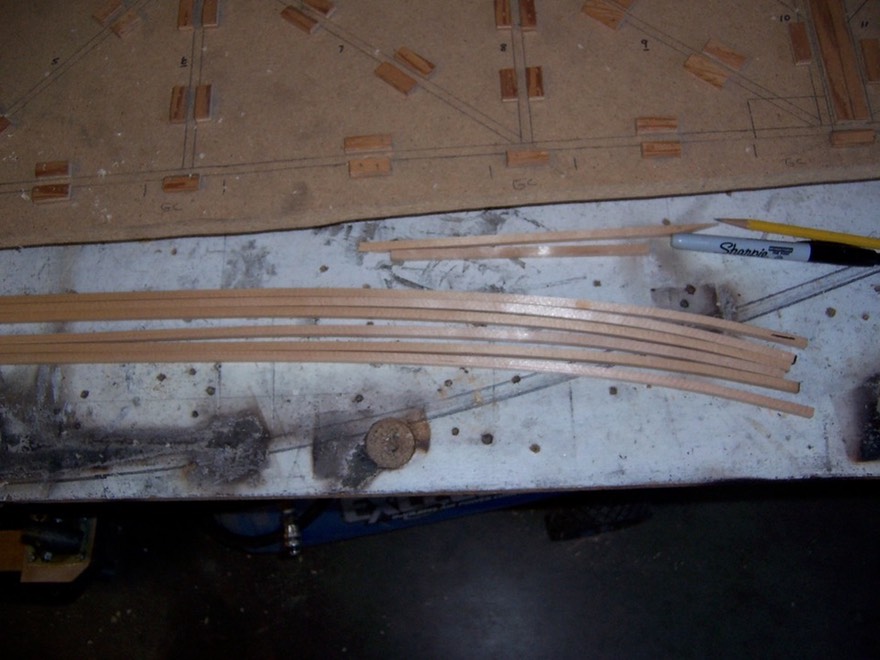 Strips ready to glue, top caps bent and ready.
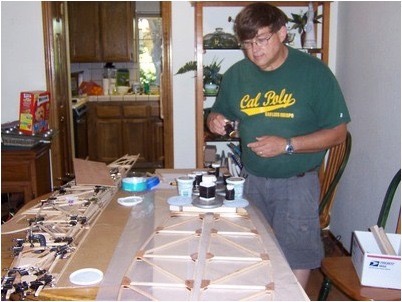
 Gluing the first rib. I had Lots of little parts in the bins, already made. I did a few out in the garage than in the house. I setteled in behind the couch for the majority of the rib building as it was the least intrusive in the house.
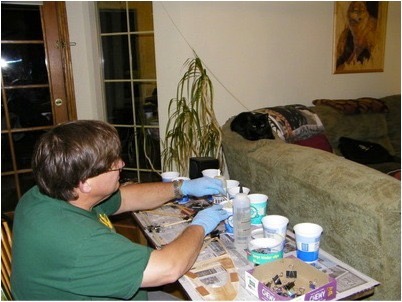 I decided to move into the house, much cooler. Gluing while watching TV.
 Lots of repetative steps; 26 ribs total for both wings plus about the same false ribs. I made the clamps from PVC pipe and dowel rods. I found the clamp design on another builder’s site. Three ribs a day was the rate
of production. Each rib took about two hours with 4 hours drying time.
Do the math, long days!
Lots of repetative steps; 26 ribs total for both wings plus about the same false ribs. I made the clamps from PVC pipe and dowel rods. I found the clamp design on another builder’s site. Three ribs a day was the rate
of production. Each rib took about two hours with 4 hours drying time.
Do the math, long days!
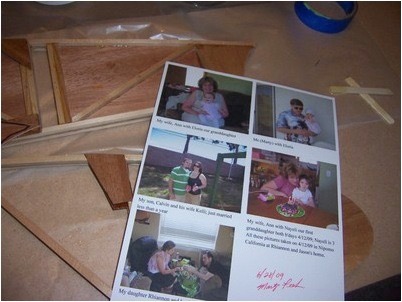 These are family pictures that I placed inside one of the ribs as a kind of
time capsule. I’ve done this on many projects over the years, kind of
my signature that no one is likely to see but I know it is there.
These are family pictures that I placed inside one of the ribs as a kind of
time capsule. I’ve done this on many projects over the years, kind of
my signature that no one is likely to see but I know it is there.
 Preparing to cover up forever …….. I hope.
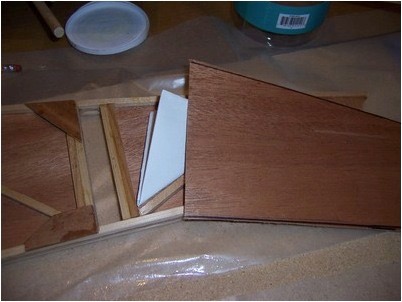
 Typical shot of gluing on plywood. Some of the ribs are plated with ply of various sizes depending on location in the wing.
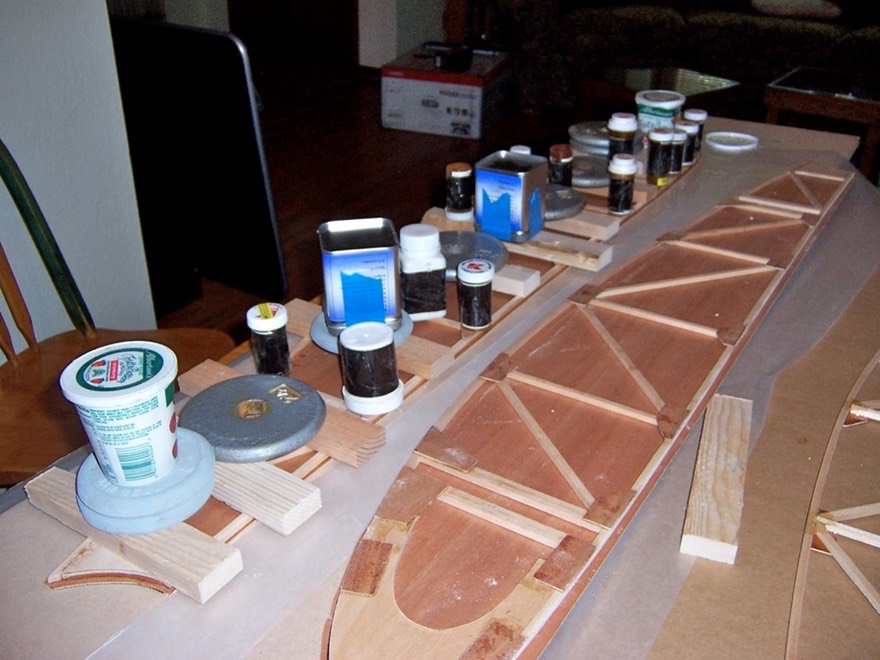
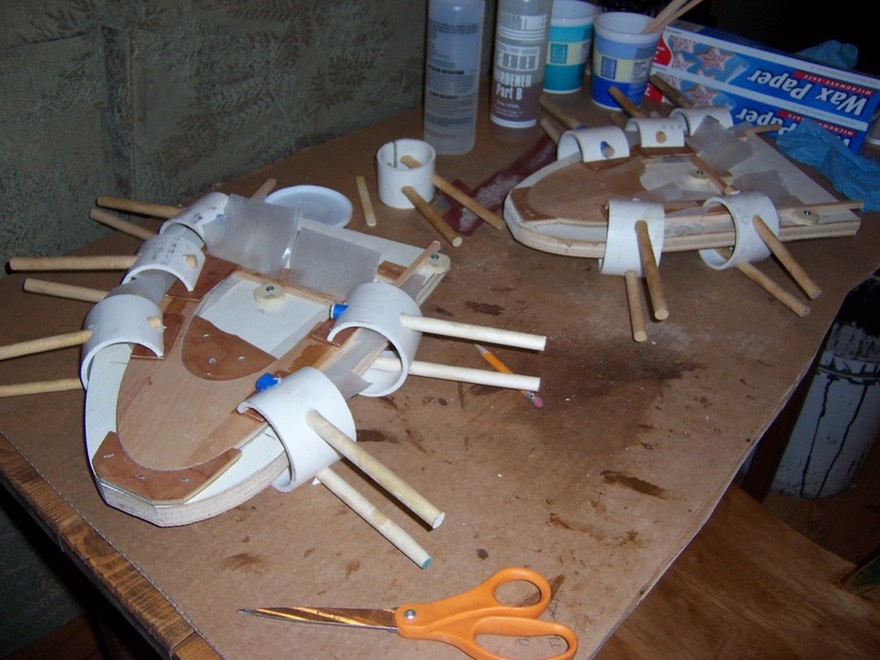
 More plywood plates. when the ribs were glued in the jig the necessary gussets were only glued on the side of the rib facing up. Each PVC clamp held one gusset in place. After drying the rib was removed and the addational gussets were glued on. On the left you can see the black binder clips I used to clamp the addational gussets.
 Next, bending cap strips for the false ribs. I used the same method
for the full cap strips. The jig was right out of one of the EAA
books. The false ribs are only the “D” plywood with some cap strip
material and gussets. They go between the full ribs stopping at the
spar. That’s why the name, false rib.
Next, bending cap strips for the false ribs. I used the same method
for the full cap strips. The jig was right out of one of the EAA
books. The false ribs are only the “D” plywood with some cap strip
material and gussets. They go between the full ribs stopping at the
spar. That’s why the name, false rib.
 Gluing up the false ribs. I made two false rib jigs to speed up this process. These were also done in the family room. It was over 90 degrees out side so the glue set up in about 4 hours.
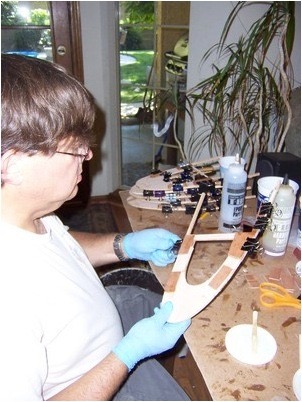 After removing from the jig, the gussets had to be glued on the other
side. I had to do the same step on each full rib also. Lots of time
but I watched a lot of TV as I glued wood together.
After removing from the jig, the gussets had to be glued on the other
side. I had to do the same step on each full rib also. Lots of time
but I watched a lot of TV as I glued wood together.
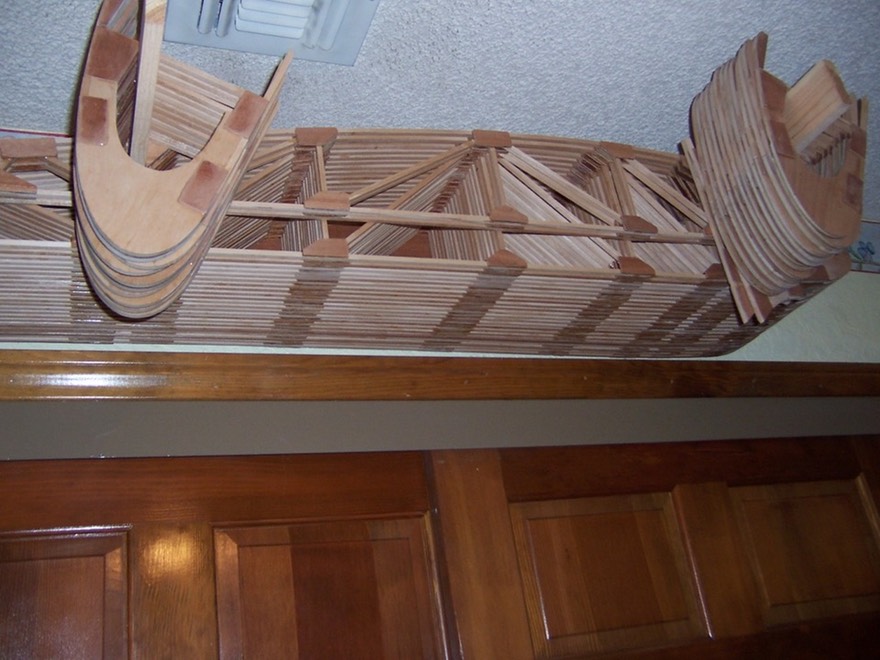 And finally, all the ribs for both wings are finished and hung from
the wall in the guest room. Guess what the theme of the guest room
is?????
And finally, all the ribs for both wings are finished and hung from
the wall in the guest room. Guess what the theme of the guest room
is?????
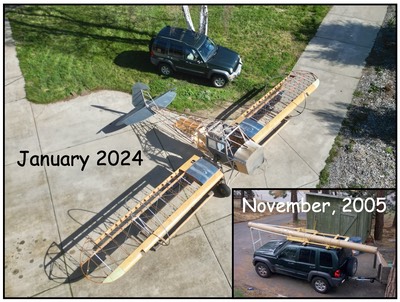
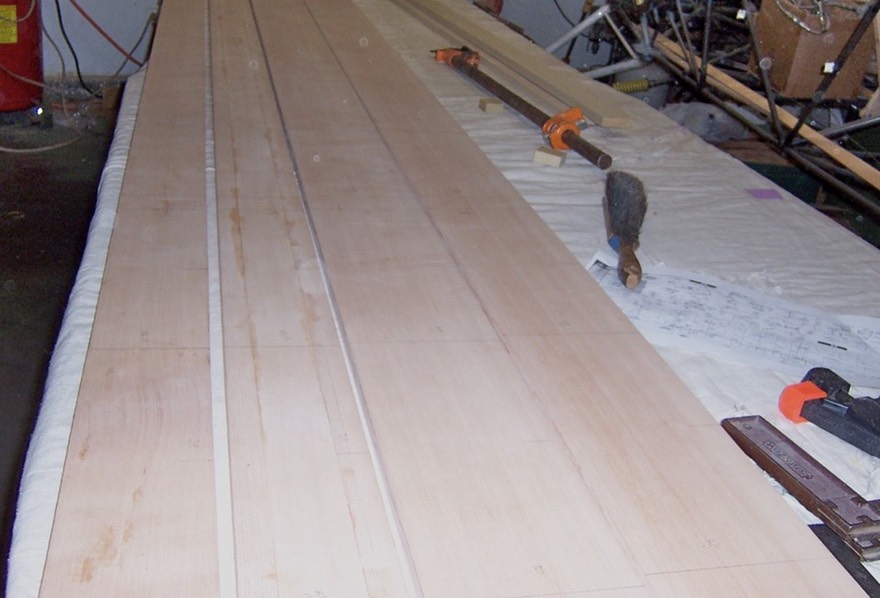 Next, the spars. I bought the wood in Washington State in 2005 and
have stored it since. I planed down the wood, and needed to glue one of
the spars from three pieces. The others are about ready. I should
start assembling the wings in a few weeks. Then a side step to get an
engine.
Next, the spars. I bought the wood in Washington State in 2005 and
have stored it since. I planed down the wood, and needed to glue one of
the spars from three pieces. The others are about ready. I should
start assembling the wings in a few weeks. Then a side step to get an
engine.
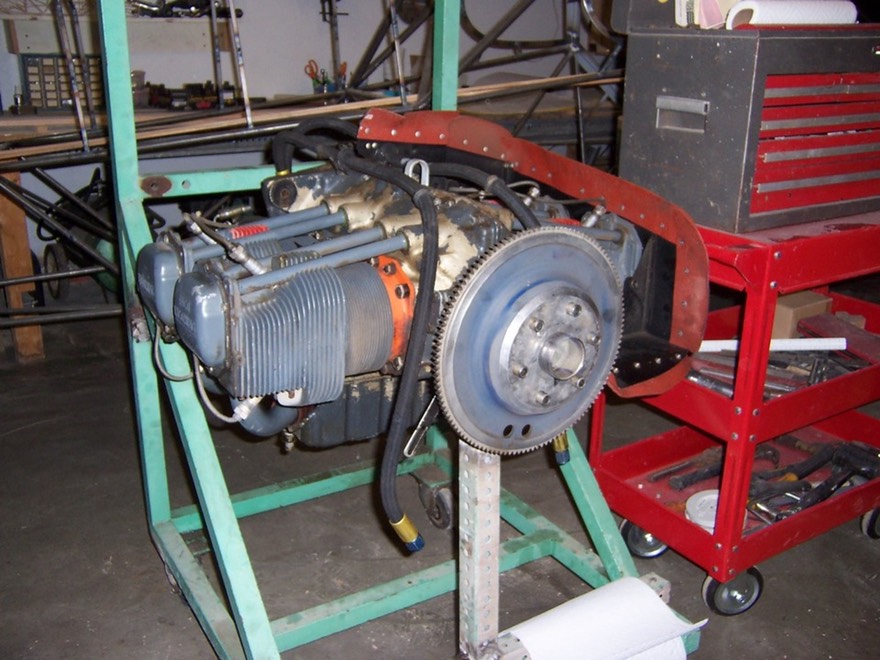
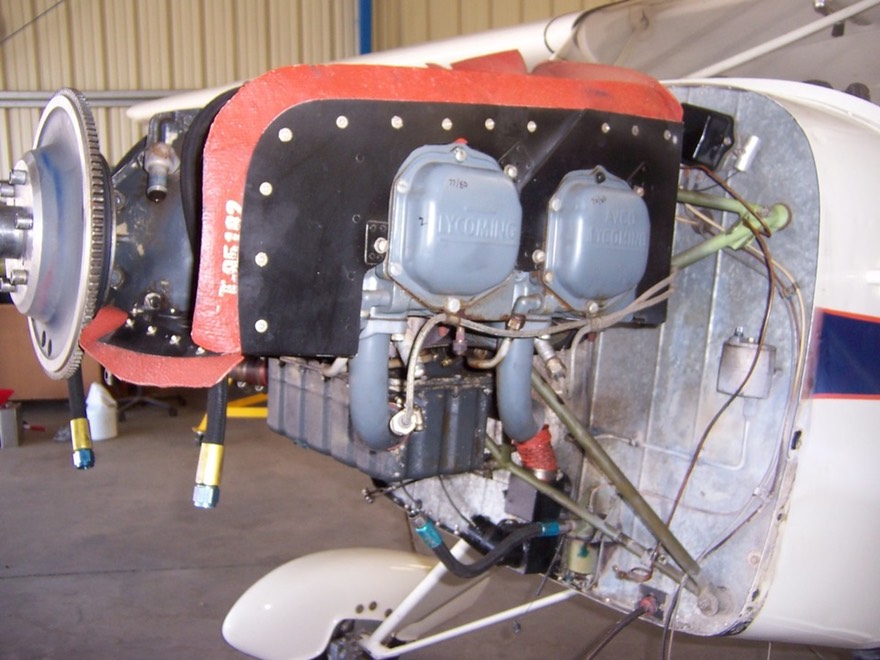 I was able to help remove the engine from my friend Eric’s Piper Tri
Pacer. The engine is a 135hp Lyc. O290 D2. Eric is upgrading to a
larger engine for the type of flying he needs to do. He made me a great
offer on the engine. He just flew round trip to Oshkosh (40+) hours
with no problems. We did a compression test, than pickled the engine
for the two or so years until I need it. I can simply bolt it up, hook
it up, and start it. This will not only save me $$$ but as important
(or more maybe) save me lots of time. I took a bunch of pictures of the
removal so installation will be much easier.
I was able to help remove the engine from my friend Eric’s Piper Tri
Pacer. The engine is a 135hp Lyc. O290 D2. Eric is upgrading to a
larger engine for the type of flying he needs to do. He made me a great
offer on the engine. He just flew round trip to Oshkosh (40+) hours
with no problems. We did a compression test, than pickled the engine
for the two or so years until I need it. I can simply bolt it up, hook
it up, and start it. This will not only save me $$$ but as important
(or more maybe) save me lots of time. I took a bunch of pictures of the
removal so installation will be much easier.
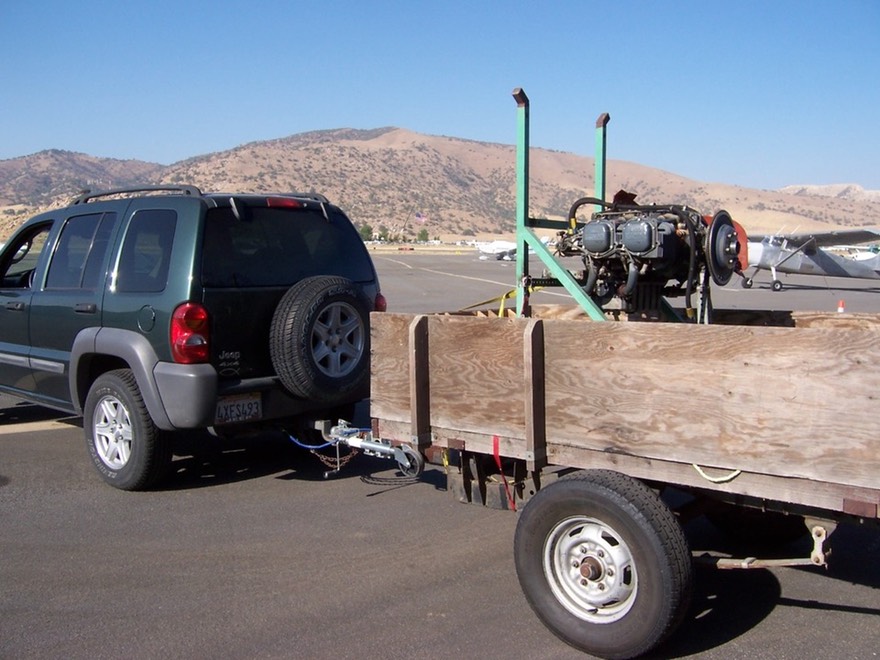
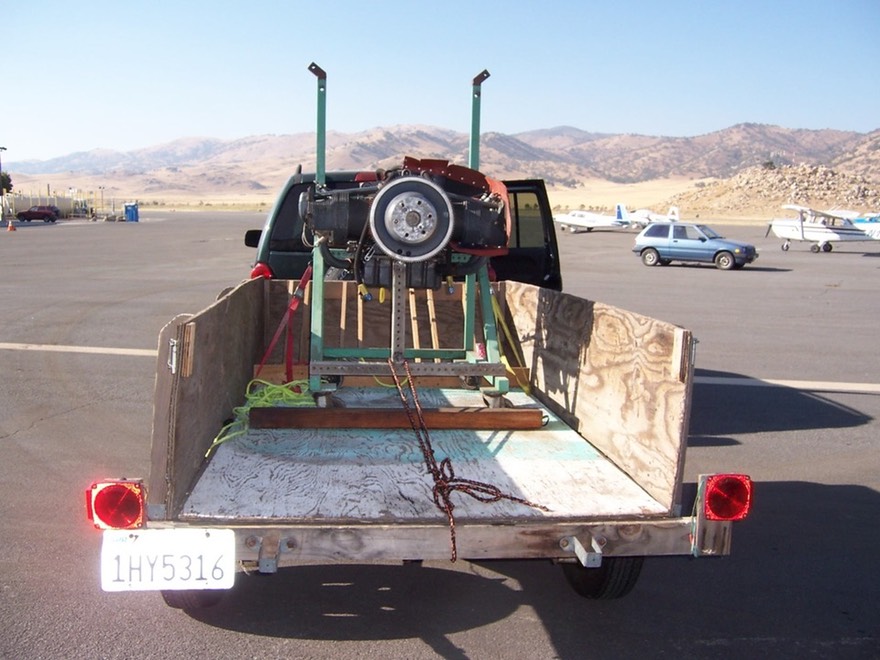 Ready to take home. My trash trailer sure has hauled lots of
interesting stuff. If only we had left the prop on we could have driven
home like a Florida Air boat! OK. well not!
Ready to take home. My trash trailer sure has hauled lots of
interesting stuff. If only we had left the prop on we could have driven
home like a Florida Air boat! OK. well not!
 Here we go .........
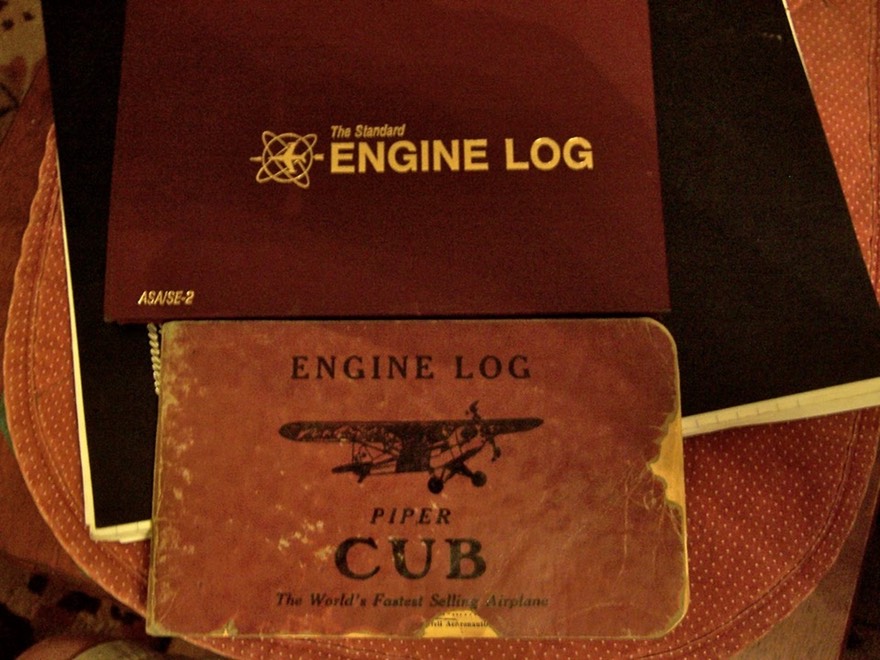
 The engine is now safely at home! Log books are complete from manufacture to today.