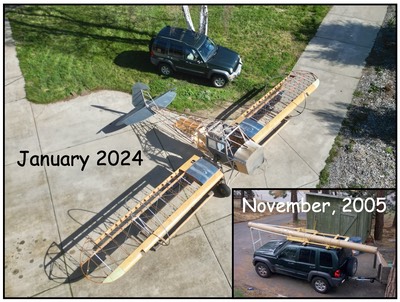

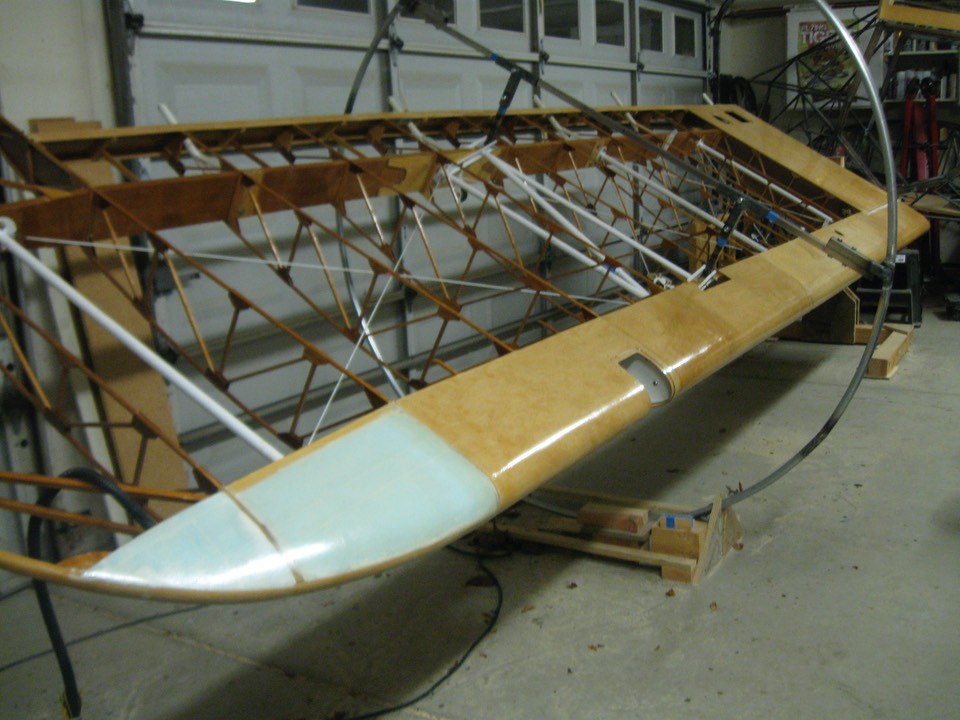
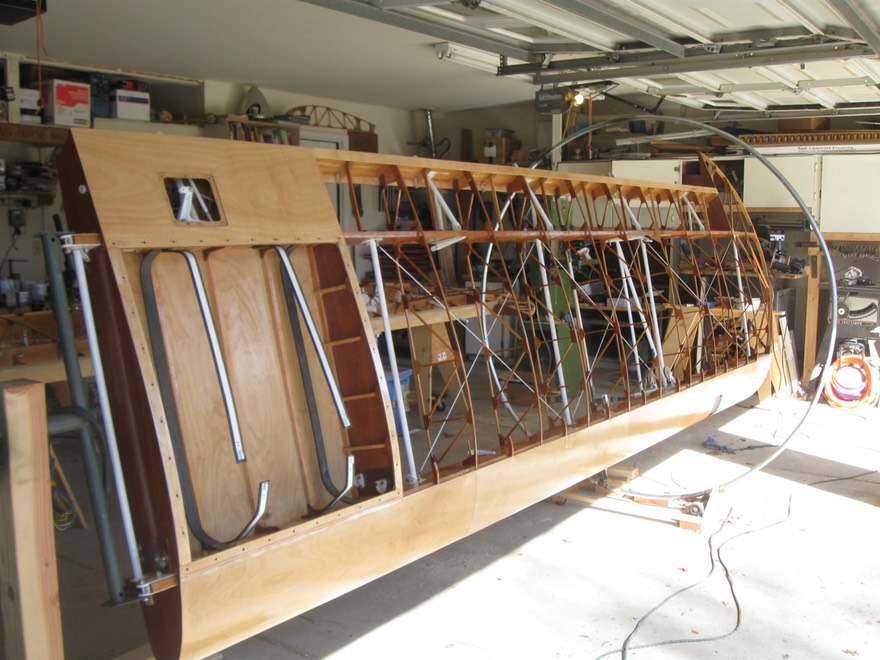
My wings are finished ! I need to finish up the top coat on the right wing but everything else is done. Since the last post I completed a number of final steps to complete the wings. First, I completed the leading edge transition to the wing tip with blue foam and fiberglass. Next, I formed a mount on the wing tip for the navigation lights. Last, I fabricated and installed the landing and taxi lights; one in each wing. I worked on these three steps between wings using a wing rotator I built similar to the rotator sold by Wag Aero. I highly recommend a wing rotator; these last steps would have been very difficult to complete without it. First, a picture of the finished wing.
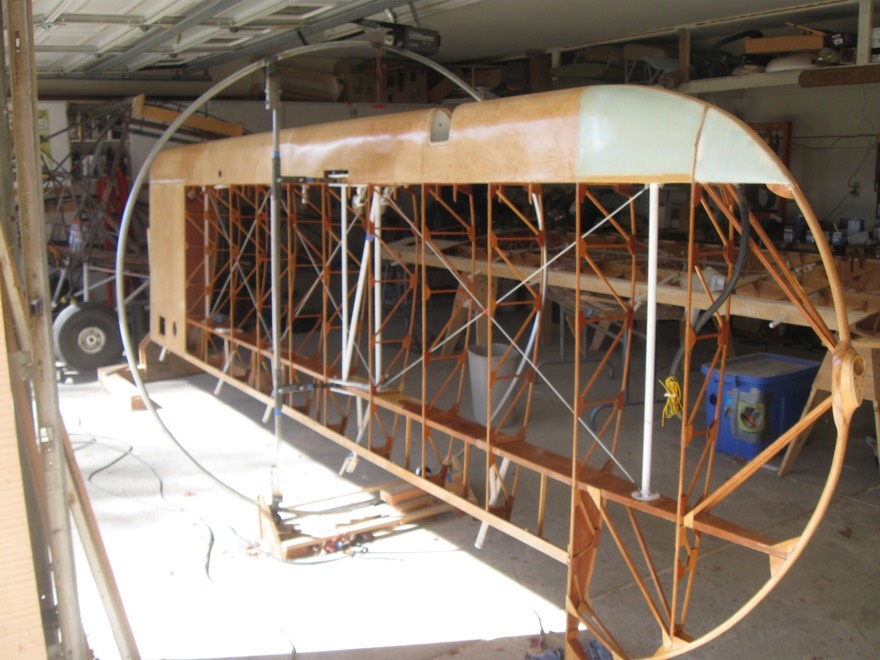
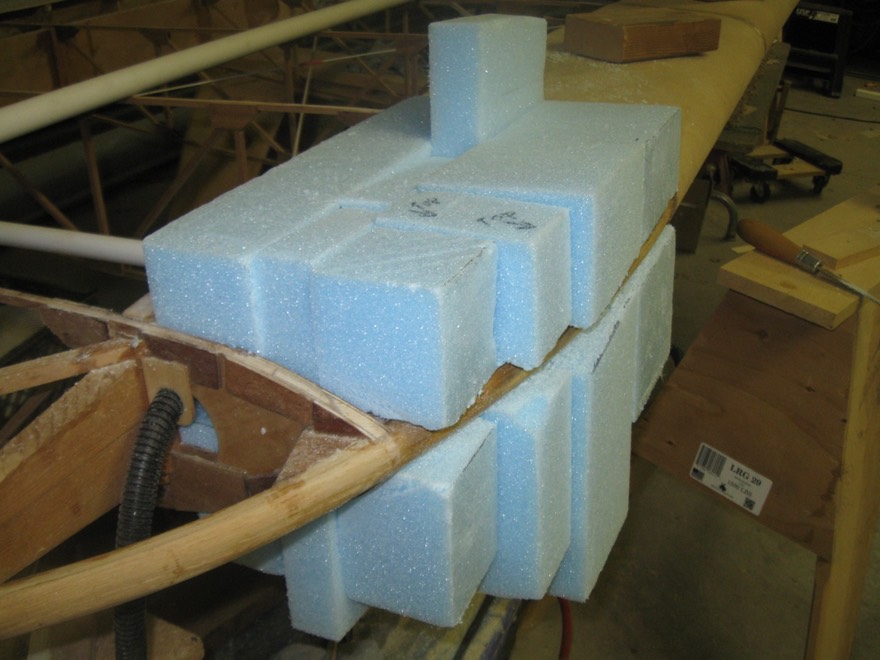
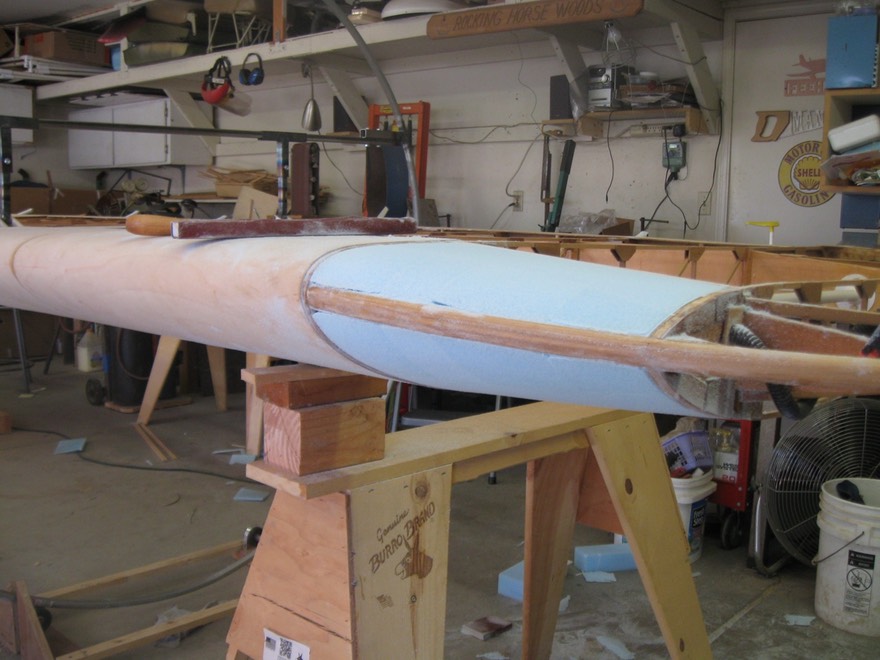
Now for the details of the completion. First, the composite wing tips. I first blocked the foam into the first section, glued it in place, and than sanded the foam to shape.
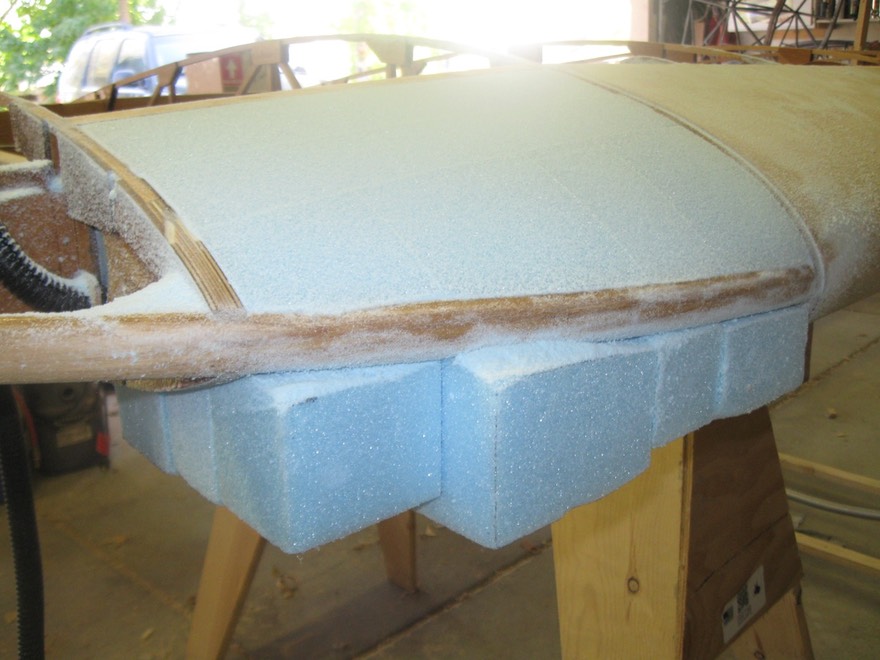
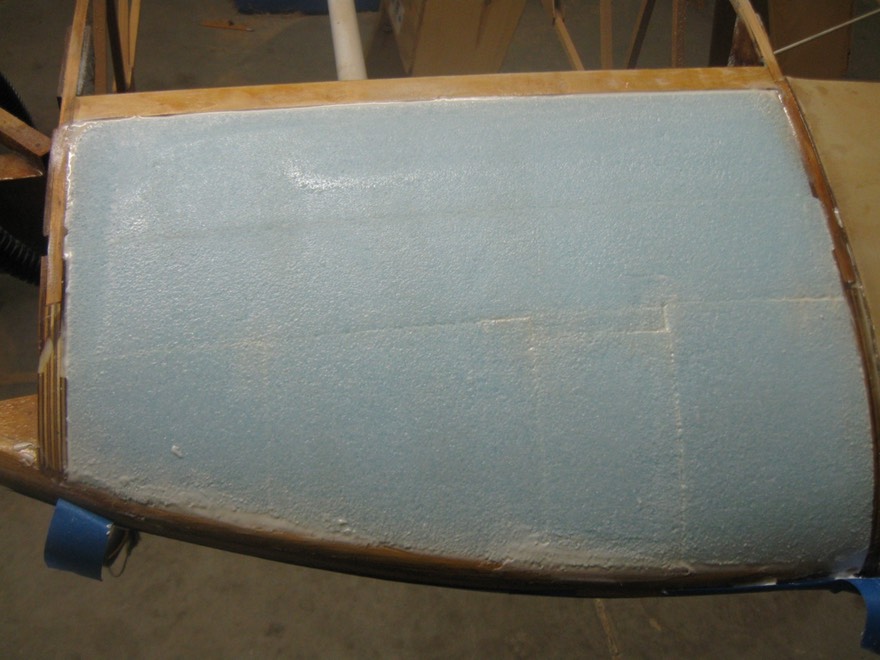
Sanded to shape .......... top and then bottom surfaces.
Next, the surface was finished with a slurry of microballoons and epoxy. Some of the low spots and holes were first filled with a thicker slurry filler. After sanding, two layers of glass is applied, sanded, and filled. I followed the procedures in Rutan's "Moldless Composite Sandwich Aircraft Construction".
Slurry and fill ......
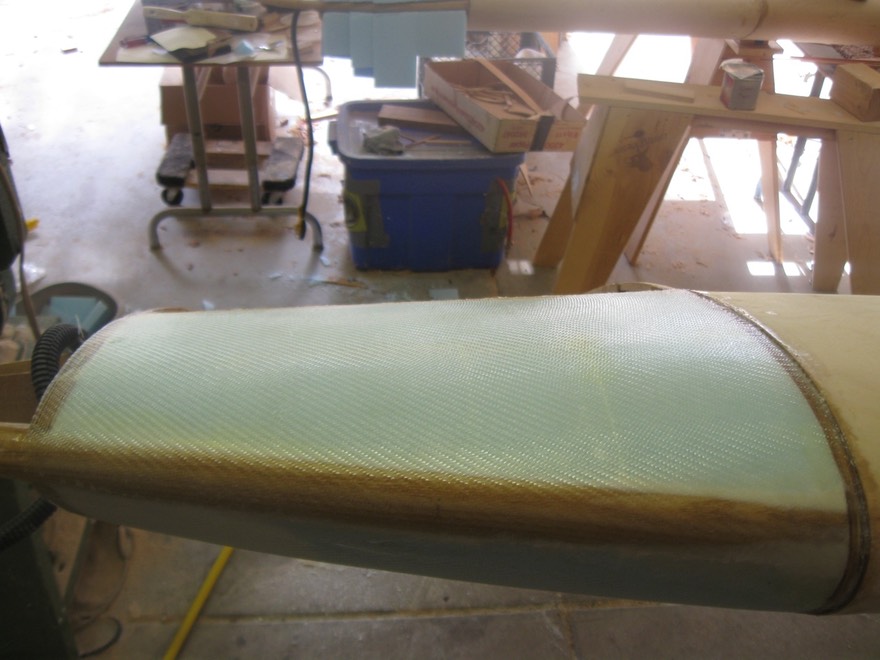
Glass and epoxy lay-up complete.
Finished section. The smaller section at the end of the leading edge was done in the same fashion a little bit later after some other work. I realized that the smaller section also needed to be completed after looking at other cub wings. Below is the smaller tip blocked.
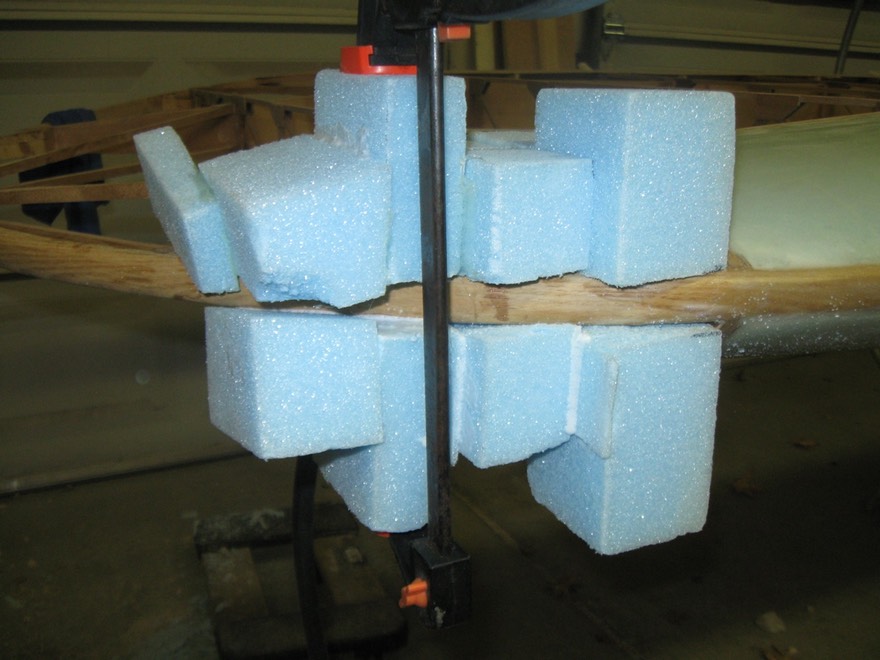
Next, sanded and filled ready for glass lay up.
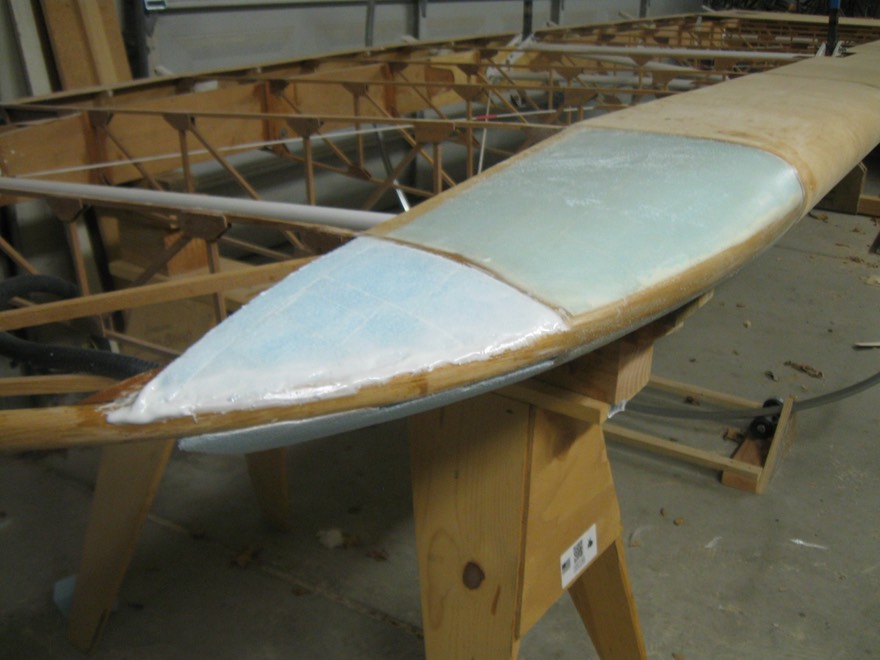
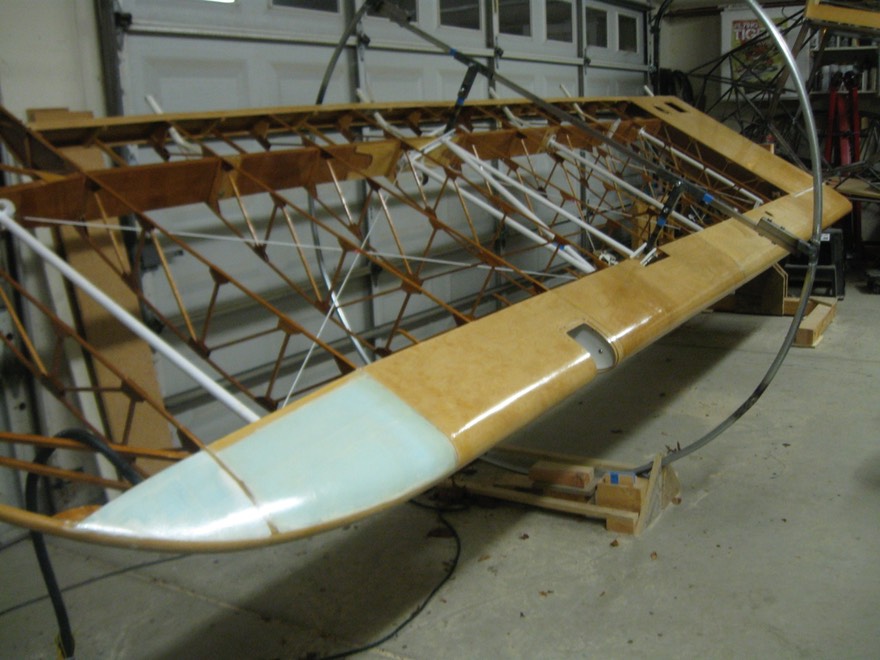
Glass work finished. I also added some 1" and 2" strips of glass over lay at the seams to help with the transition from the plywood to the foam. This was not my first attempt at glass. There are other ways to finish out this section of the wing. The most common is a formed aluminum cap but I didn't want any attaching screws and I did not want to spend the money for the caps. Here's the finished glass work.
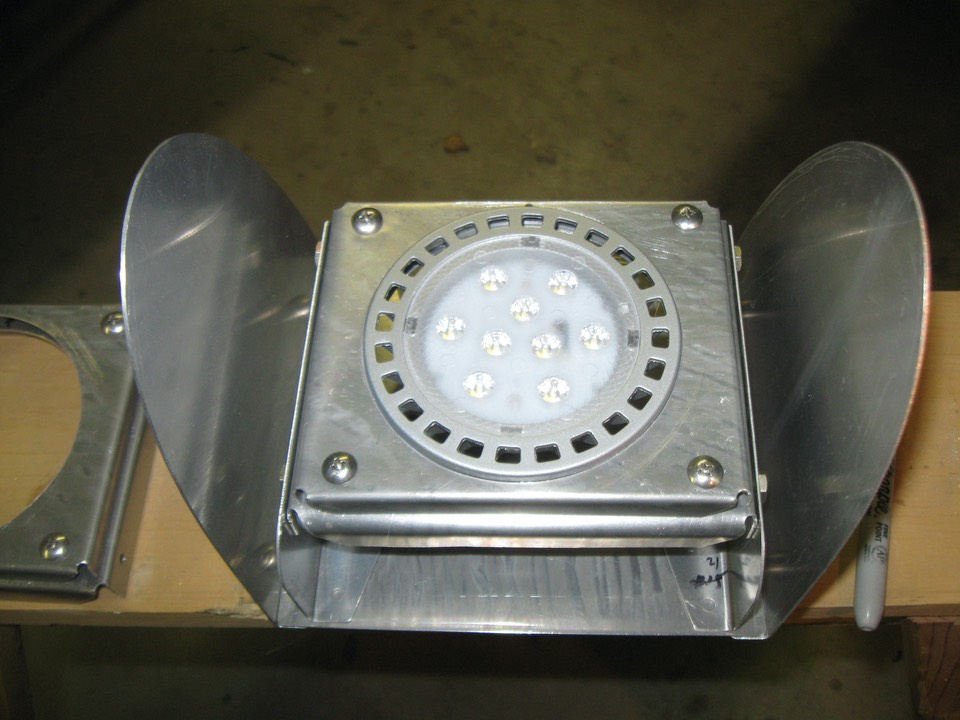
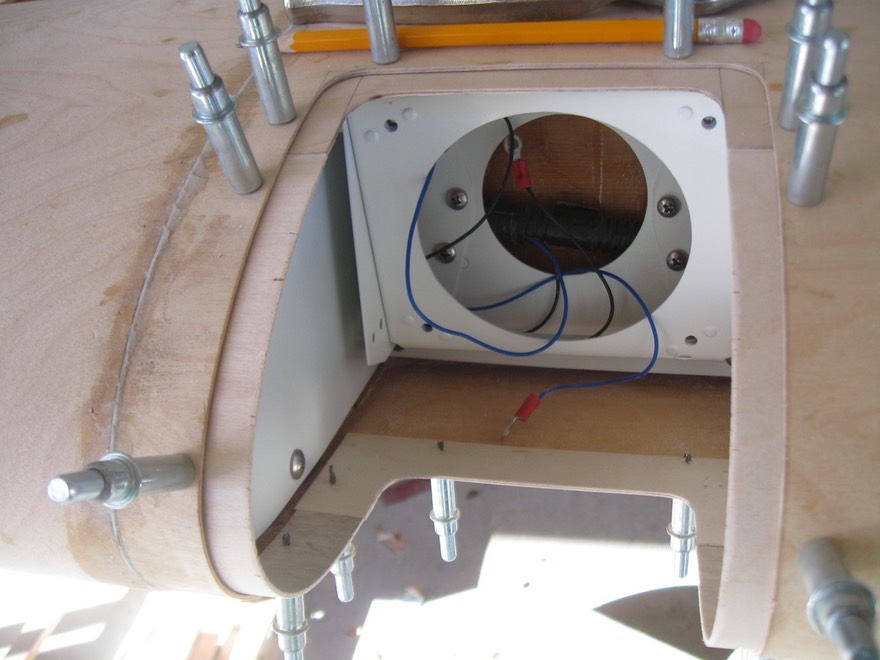
Next, the landing and taxi lights. I designed the housing using CAD and based it on the stock system used in the leading edge of a Super Cub. I had to re-make the parts a couple of times to get everything to fit. I would strongly recommend installing the lights before the leading edge as fitting would be a lot easier. Here's a few shots of the housing and the install.
The housing ……
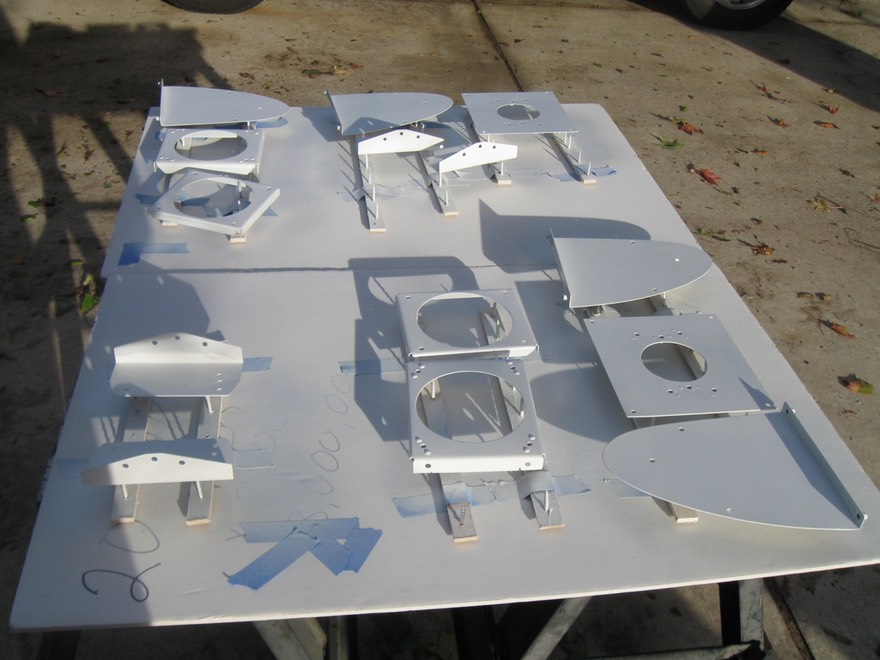
All the parts set out for painting. I chose white; others use black; not sure what is best.
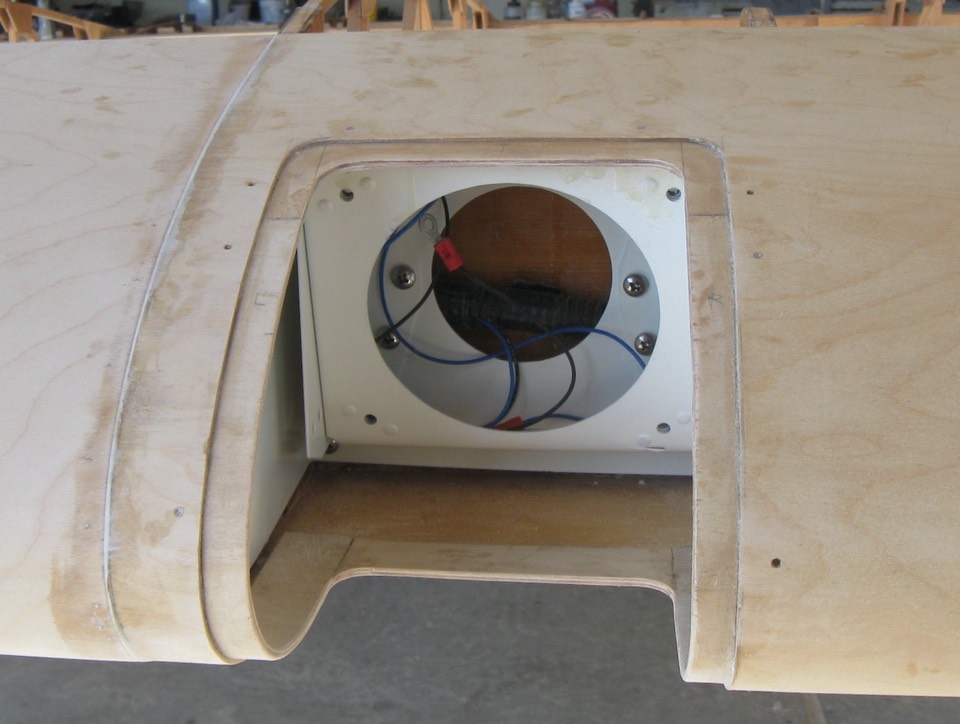
Next, with the housing installed I built up a lip with two layers of 1/16" ply for the lens to attach.
The finished light ……..
It's alive !

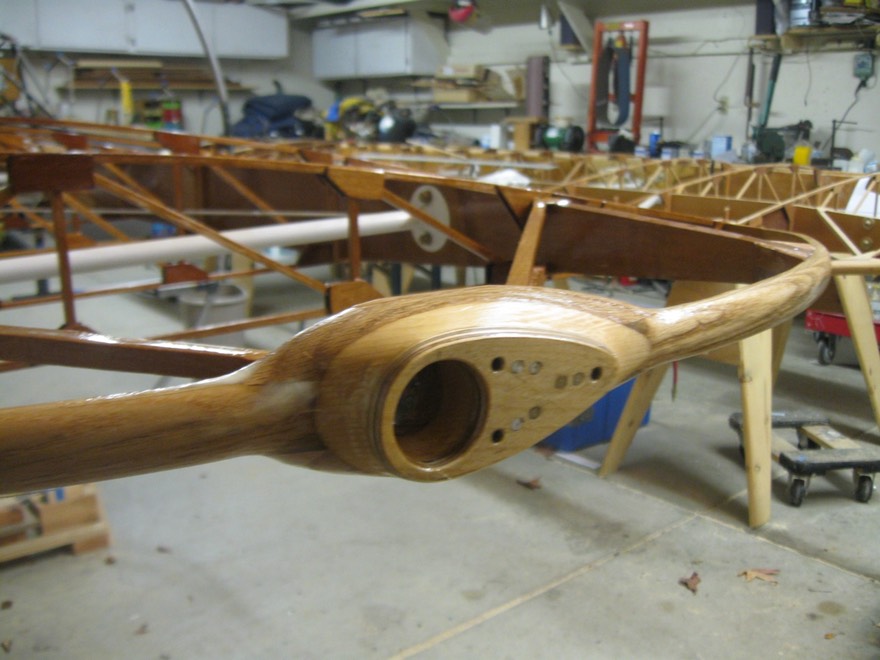
Next, the Wing tip Navigation Light mounting area. I did not like the sheet metal fairing commonly used by Piper Cub type wings. I decided to carve a wood mounting area as I had seen on a Stearman web site. To me it looked a lot classier and more streamlined. First, blocks were glued in place. I initially glued more wood than was needed as I did not know how thick the finished mount would be. I wound up removing over half of what I first glued in place.
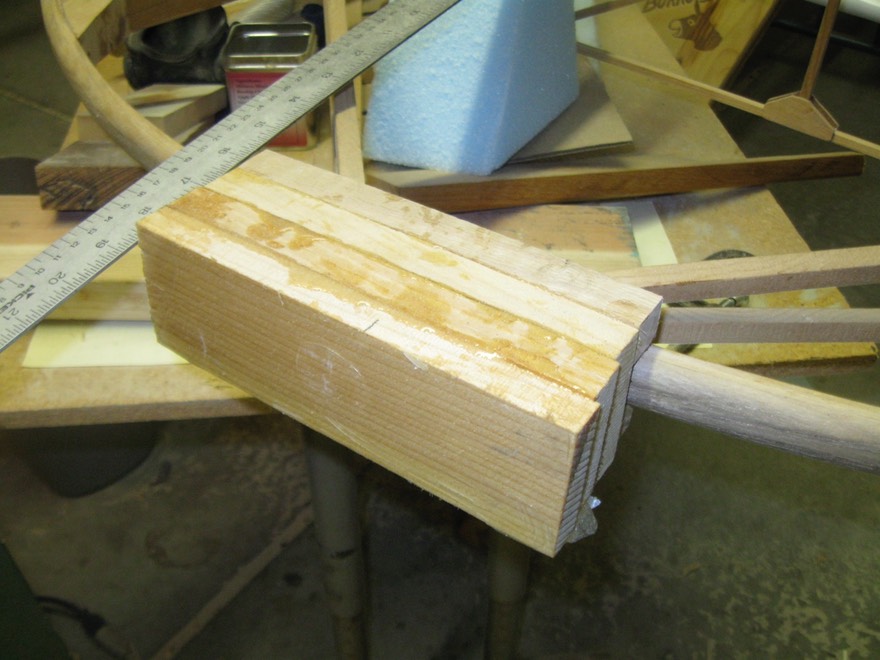
Next, the layout was drawn on the wood and grinding commenced. I removed the outer two thicknesses of wood as the first carving was too thick.
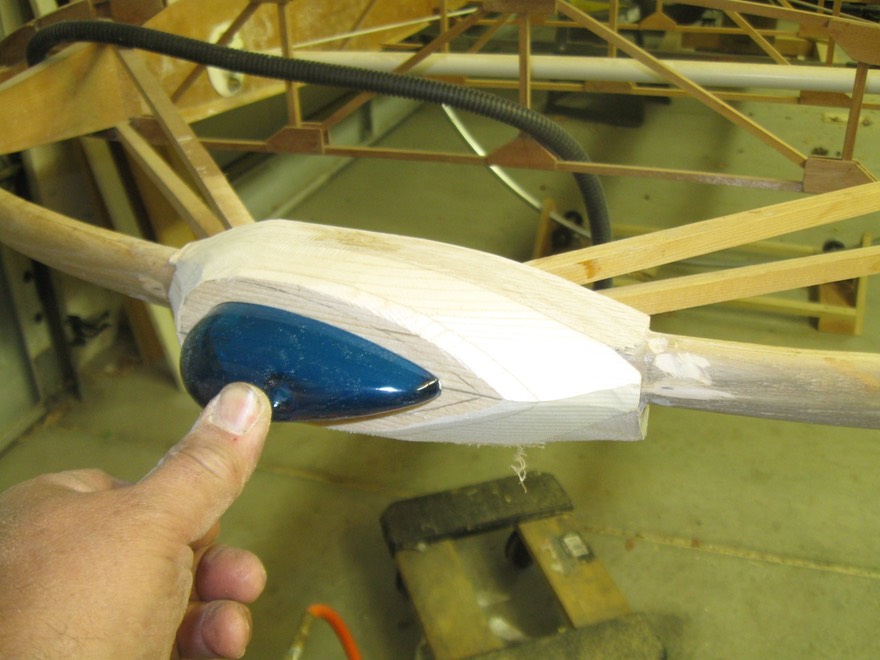
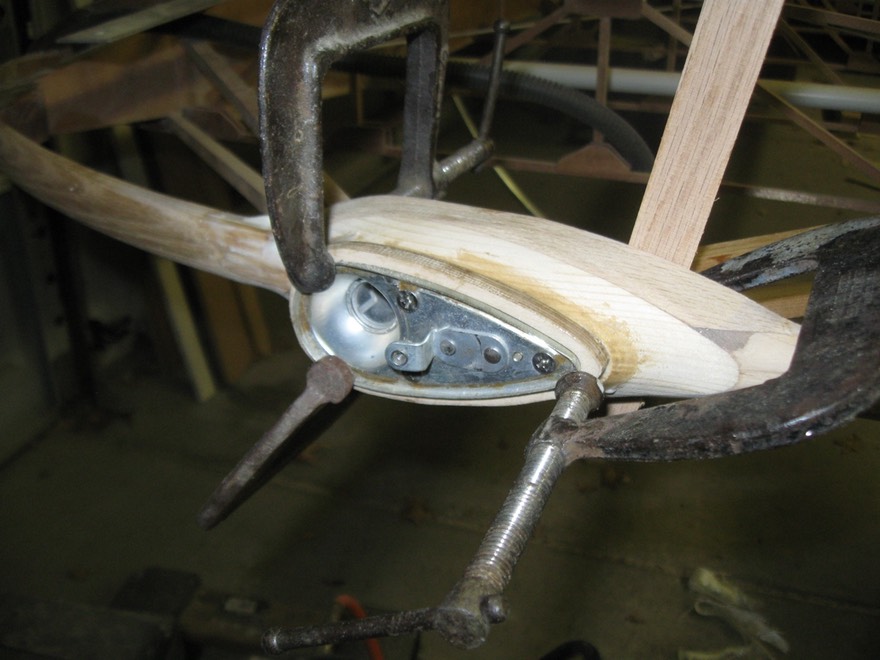
I made a backing plate using 1/4" ply and riveted nut plates to mount the standard Grimes nav light housing. The block was drilled out to match the housing.
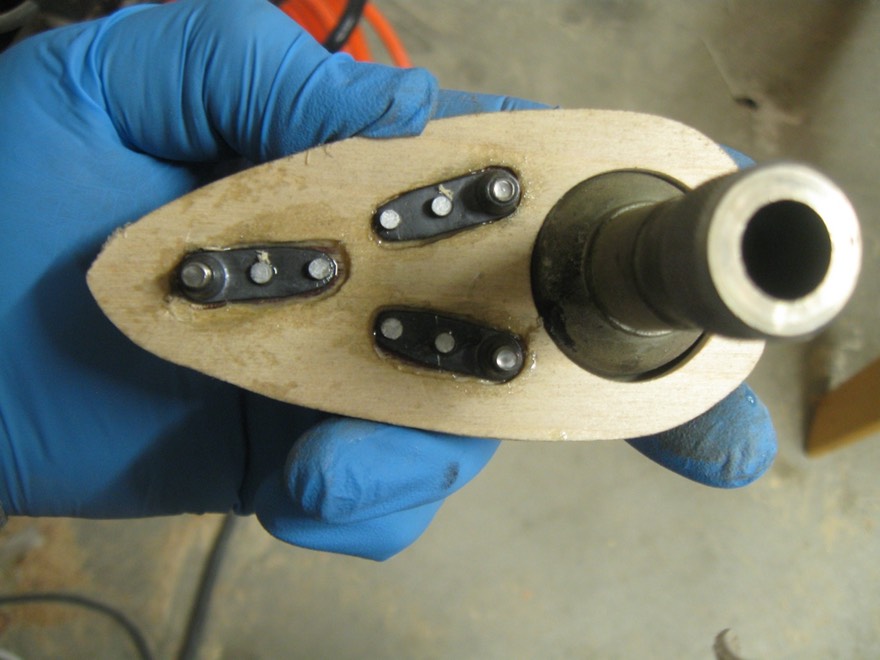
The plate was glued onto the carving pad and final carving came next.
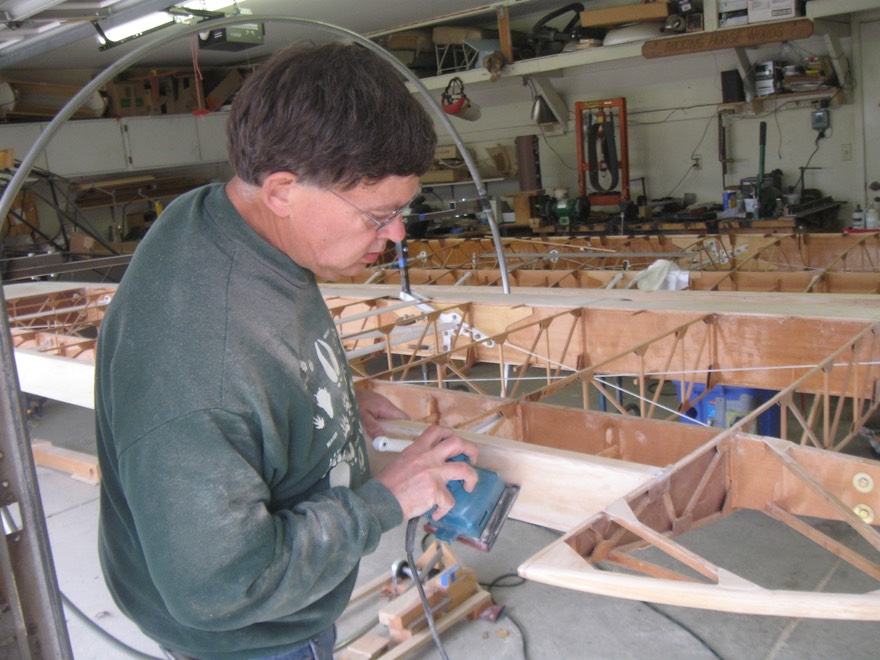
Next, final shaping and sanding to size.

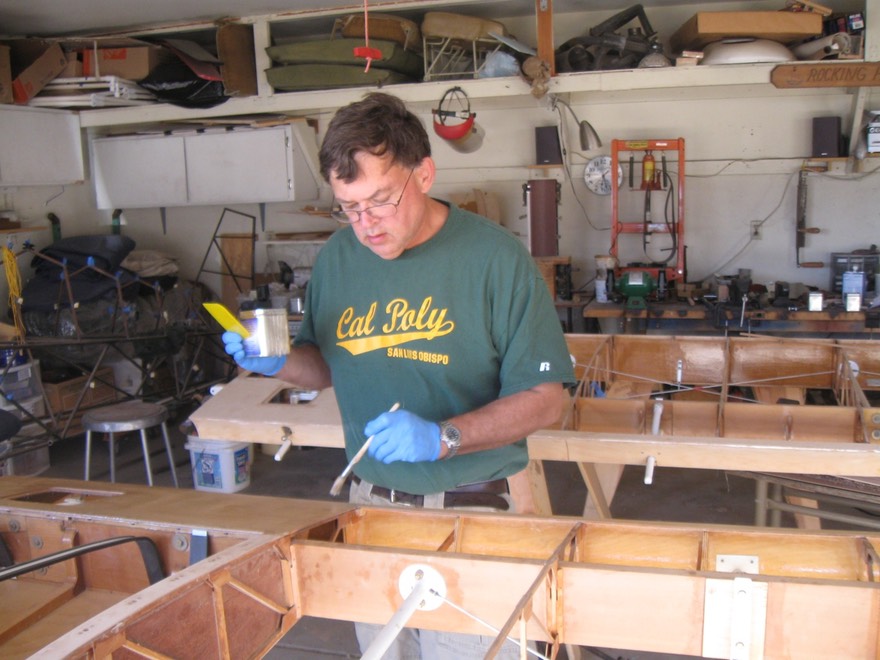
After these steps were finished on both wings the final sanding was done followed by epoxy coating.
Epoxy coating ........
And here are some pictures of the finished wing. I need to finish coating the second wing; that should be finished in a couple days.
Next, on to the fuselage ........